Mozilla Popcorn Maker
As a journalist or blogger, you usually make use of lots of online videos and audio recordings on YouTube, Vimeo or Soundcloud. However, you may need sometimes to embed your own annotations, graphs or maps on top of those videos. Popcorn Maker allows you to add those content into the videos and control where and when they should appear there.
The Time magazine published a video containing 5 inventions that they consider the top 5 inventions of 2013. Let’s take that video as an example here and see how we can embed annotations and other multimedia content in it.
You first need to go to https://popcorn.webmaker.org/, and sign in there. The signup process is easy and you normally do not need to create a password or anything.

After clicking on the sign in button, you will be asked to enter your email address. If you are using an email from one of their Identity Providers, such as Gmail or Yahoo Mail, then you will be taken to your email provider’s login page to login to your email account then you will be redirected back after being authenticated. In case you are using an email provider that is not known to them – e.g. [email protected] – then you will need to create a new password on Mozilla persona.
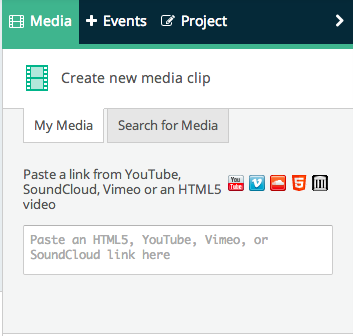
After logging in, you need to add the url of the YouTube video to the Popcorn maker. Links are added in the “Create new media clip” media section. You can add more than one video or audio links. If you have worked with other video editing tools, such as Windows Movie Maker for example, you will notice many similarities in the process of adding multiple media files and arranging them to work in the order you want. You also can cut and paste parts of the videos you add and reorder them, or use the audio of a SoundCloud file and make it the soundtrack of your YouTube or Vimeo video.
Now after we add the URL of the Time magazine’s video, and clicking on the “Create clip” button, the video will appear in the “My media gallery” section. The media gallery is a sort of repository where you can have all your media files. To start working with the media files you have, you need to drag them into the layers section at the bottom left side of the Popcorn Maker page.
You can think of Popcorn layers as those layers you see in Photoshop, GIMP or in Windows Movie Maker. The horizontal line shows the timeline for which item(s) are to be played at each point in time, while the vertical layers control which items to appear superimposed on each other. For example, if you are having two media items, media1 and media2. If you need them to appear one after the other, you can add them both in the same layer while making sure that the second one starts only when the first one is finished, but if you want the audio of one item to appear along with the video of the other item, then you need to place them in two separate layers and make them start at the same time.
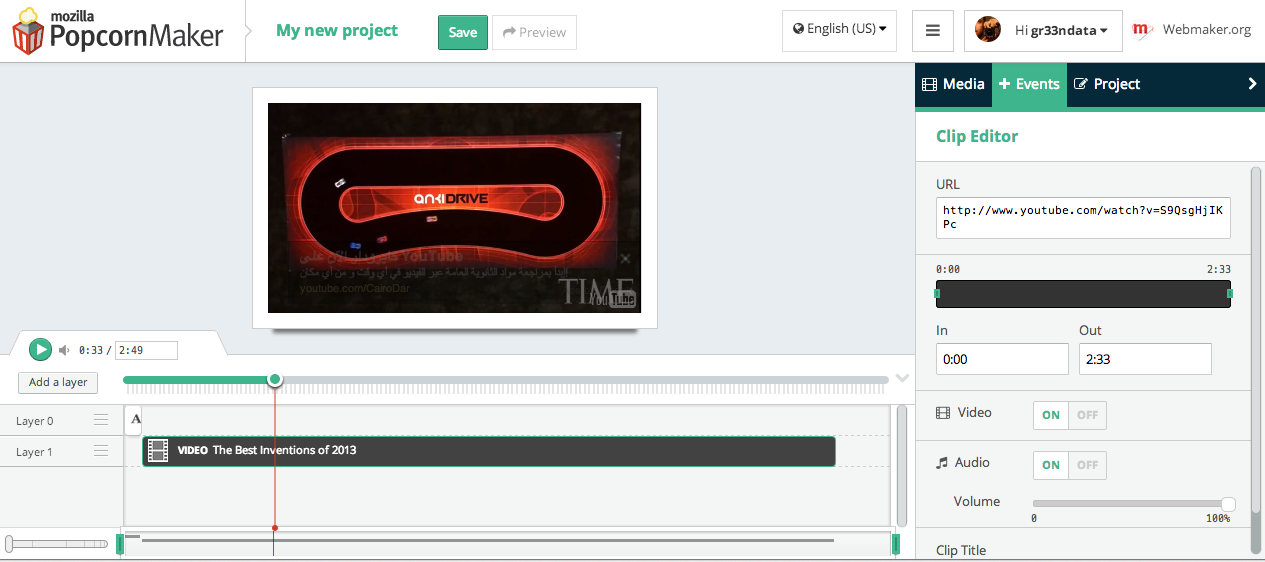
In the image above, we are having two layers, with our video in layer 1, while layer 0 contains a text item.
In order to add the above text item, we need first to click on the “+ Event” tab on the right, then click on text. A new text item will then be added to layer 0, and you will be given some fields to fill for that new item. The most important field of course is the “text” field, where you can write what to be written in your new text area. You can also set the start and end time for its appearance on the screen, or you can do the same thing by dragging and resizing the text item shown in layer 0. You can also change the text’s font, size and colour. In our case here, we added the following text in the beginning of the video, “Time’s Best Inventions of 2013”, then we moved the video item a bit to the right to appear right after the text disappears.
To edit any item you have, just click on it in the layers pane and its settings will be shown in the Events section on the right. To delete an item, just drag it to a new layer, and then delete that layer.
In the minute, 1:25, they speak about the invention of invisible skyscrapers in South Korea. So, let’s show a map with the location of South Korea on top of the video then.
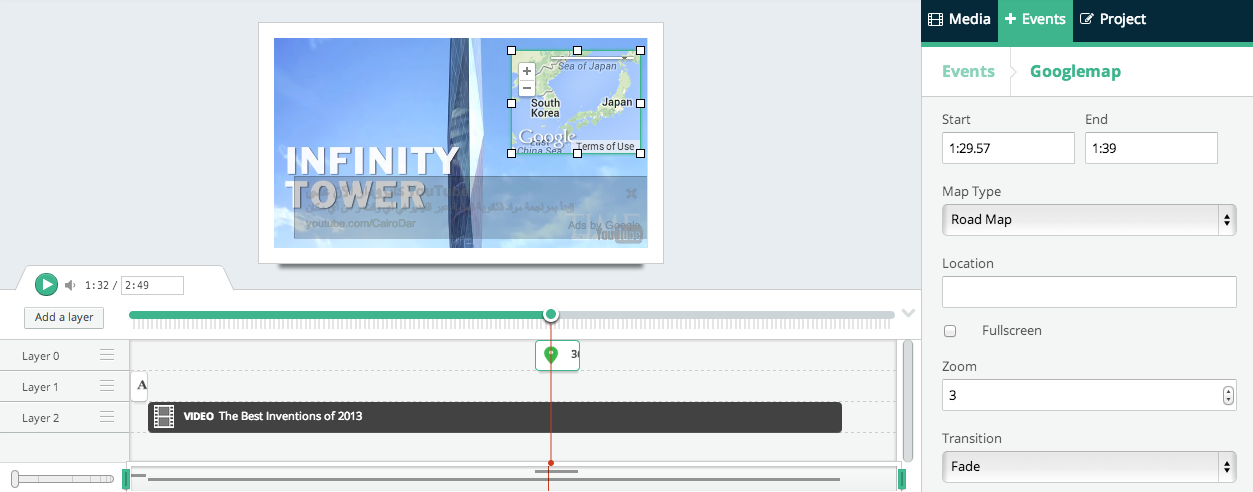
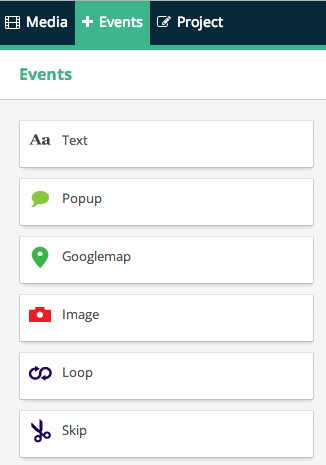
We first need to click on the “+ Event” tab on the right, then click on the “Googlemap” item. This time a map item will be added into a separate layer. We already start the video 4 seconds late after the introductory text. Thus, we need the map to appear at the minute 1:29 (1:25 + 0:04). Let’s type in that value manually, and also let’s keep the map on screen for 10 seconds. In the location field let’s type “South Korea” and set the map type to “Road Map” and the zoom level to 3. We then can change the size and the position of the map item on the screen by dragging and resizing it. We also can double click on the map item to manually change its pan and zoom.
In a similar fashion to adding Text and Google Maps, you can also add images, speaker popups, and 3D models from Sketchfab. You also should find it easy to pause and skip parts of your embedded multimedia content.
When done, you need to give your project a name then click on the save button as shown above.
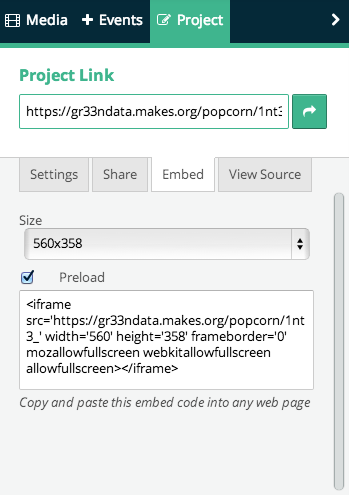
Finally, here comes the fun part where you can embed the output video along with the interactive multimedia on top of it into your own blog or journal. To do so, you have to click on “Project”, then copy and paste the HTML code shown in the “Embed” tab into your own blog or web page.
![]()