DIY Aerial Mapping
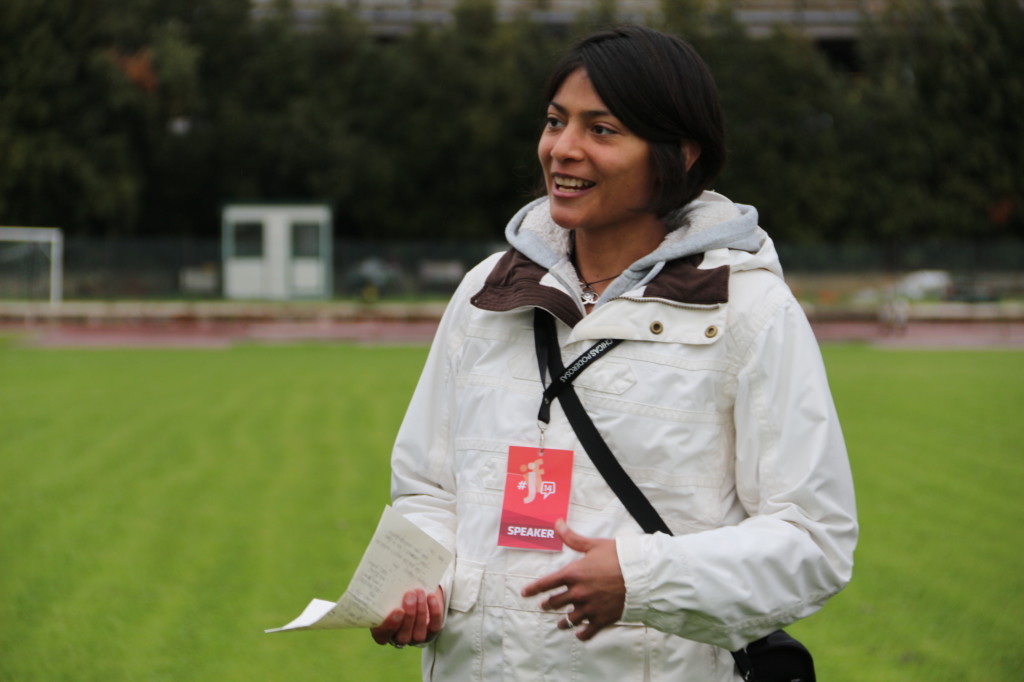
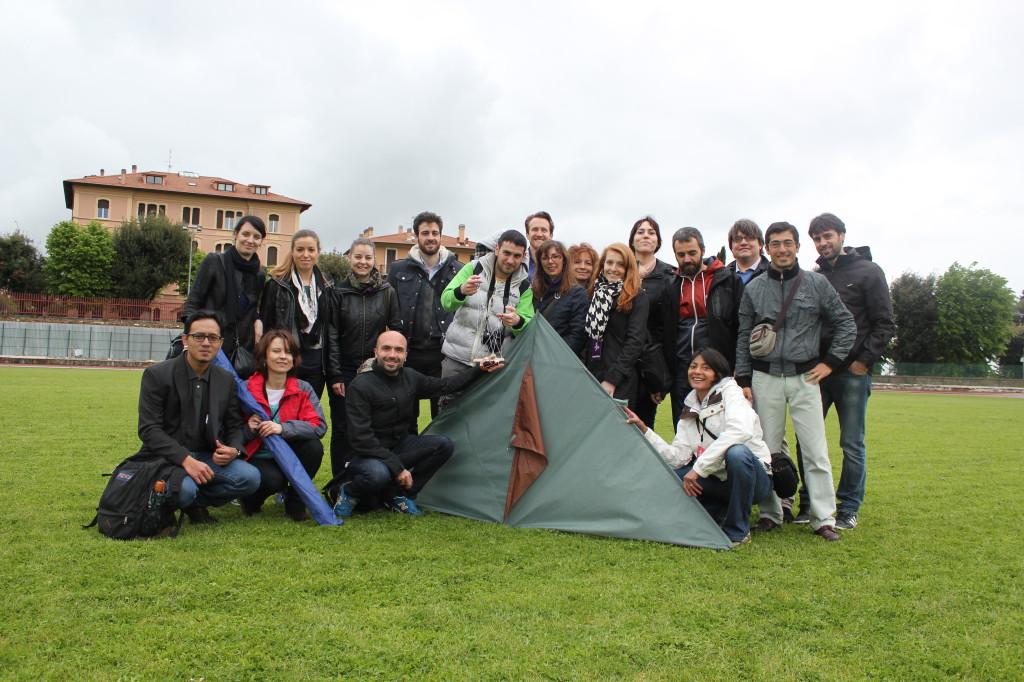
This is a report from the School of Data Journalism organised by Open Knowledge,European Journalism Centre, and International Journalism Festival. The session was led by Cindy Regalado founder of CitizenswithoutBorders.com a London-based group engaging citizens in diverse ways that expand our horizons, practically, experientially, and philosophically and community organiser for Public Laboratory for Open Technology and Science. Public Lab publishes a collection of resources for DIY aerial photography and mapping, as well as instructions on how to create other low-cost tools for environmental science. The organization sells pre-packaged kits through its Web store to help kickstart would-be aerial cartographers in getting their balloon- or kite-based sensor platforms into the skies.
Why kites?
Running on a field pushing up in the air a colorful kite brings instant joy and happiness.
We can do aerial photography in numerous ways: with balloons, kites, drones, helicopters and so on. We chose kites because they are by far the most accessible and affordable. You don’t need expensive and rare helium like in the case of balloon mapping, we don’t need to spend loads like in the case of drones, they are silent (meaning you can cover a protest without attracting attention) and most of all, they are fun!
Getting ready
To fly a kite and capture pictures from high above you will need:
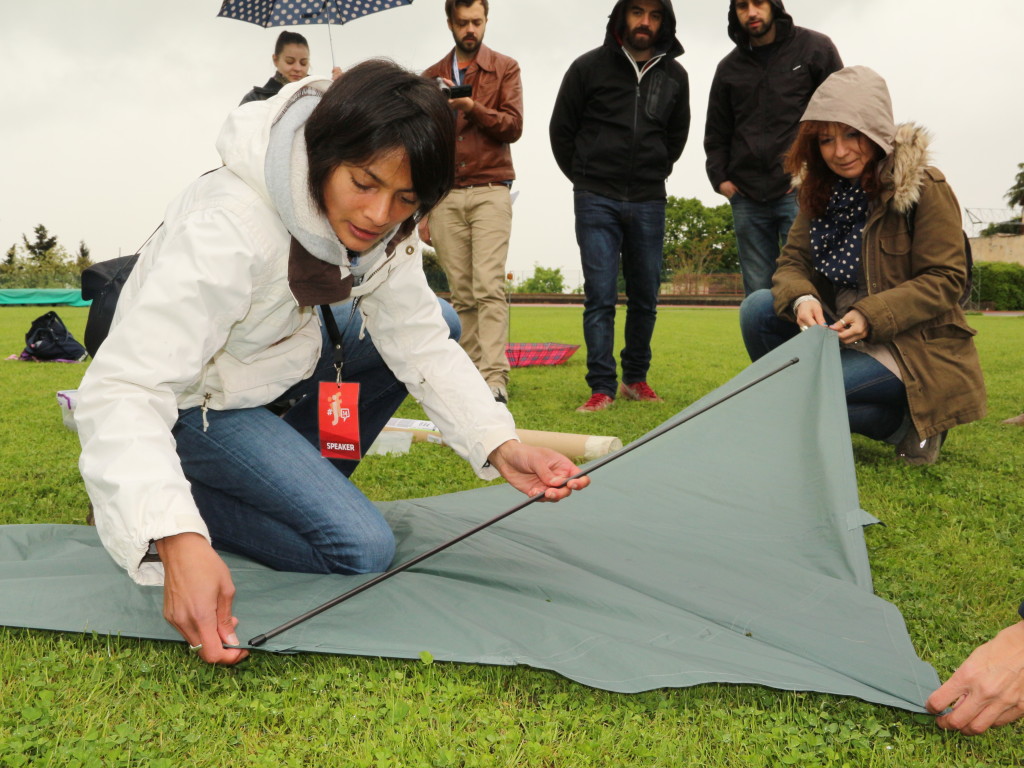
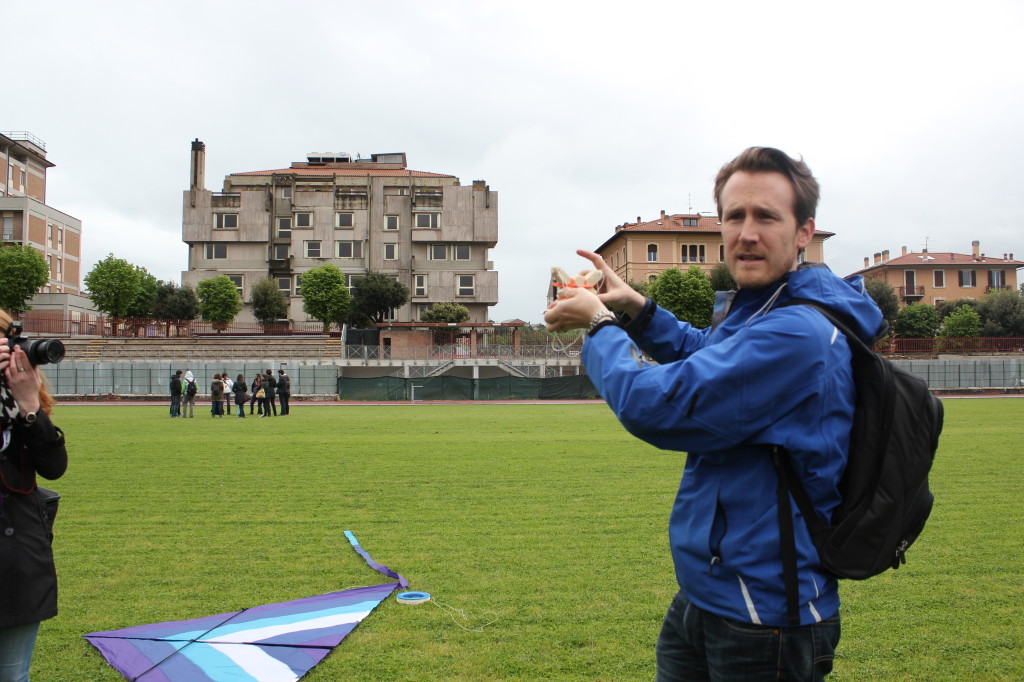
- Kite – we used a 9′ (274 cm) Dazzle Delta Kite we ordered from the Public Lab store. One can also make a DIY kite with widely available materials for less than 20 USD.
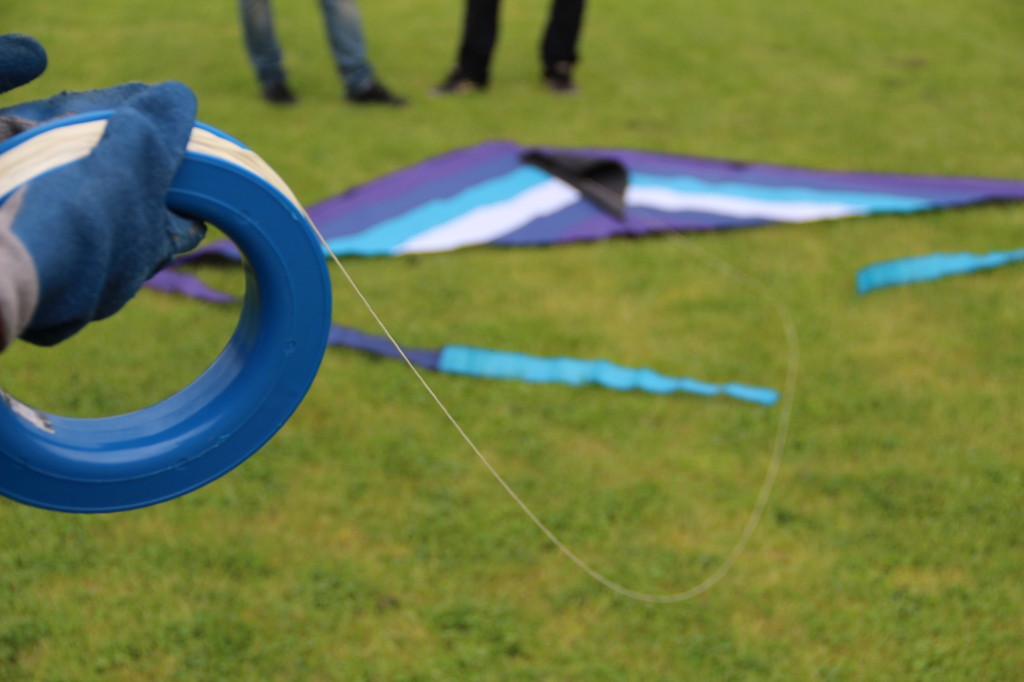
- Reel – this was also bought from the Public Lab store but it can be found in any kite flying store
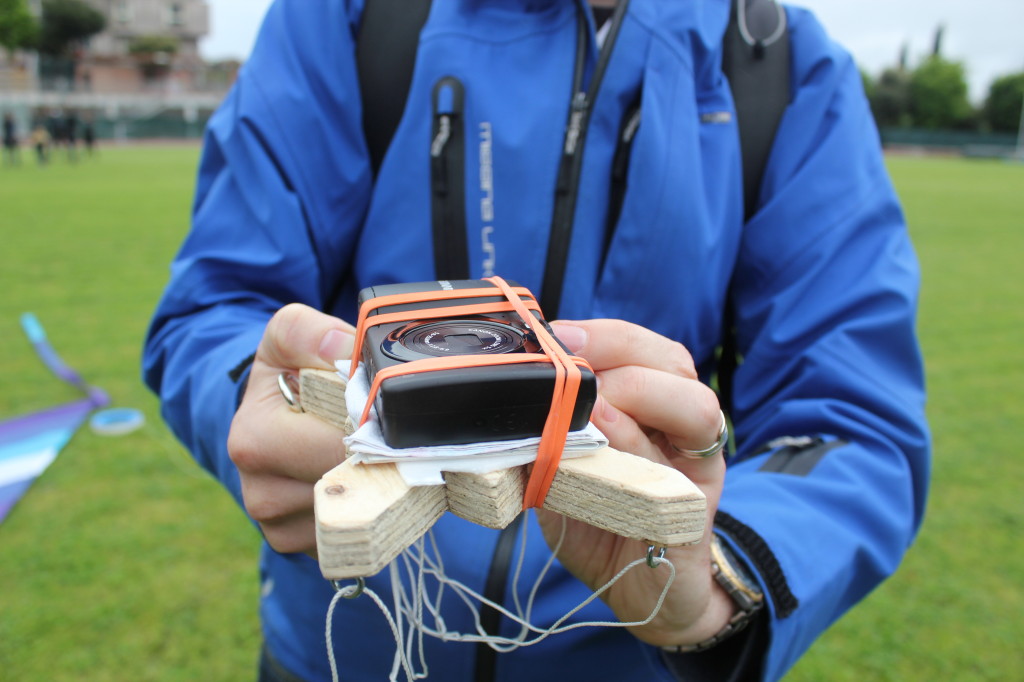
- Camera – we used a Canon PowerShot A1300
- SD card & batteries
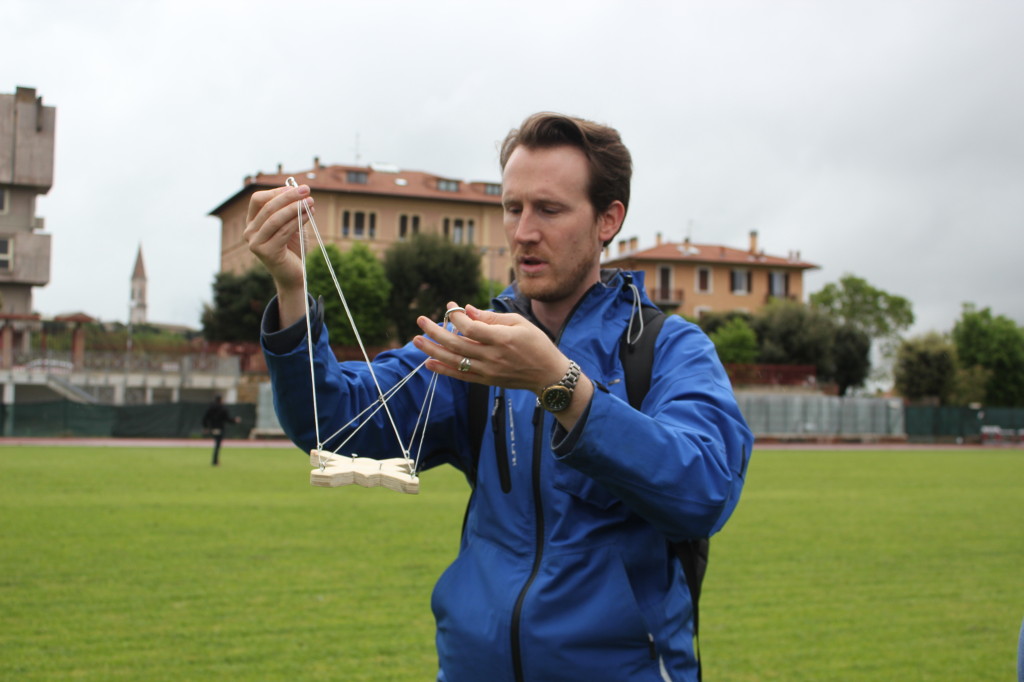
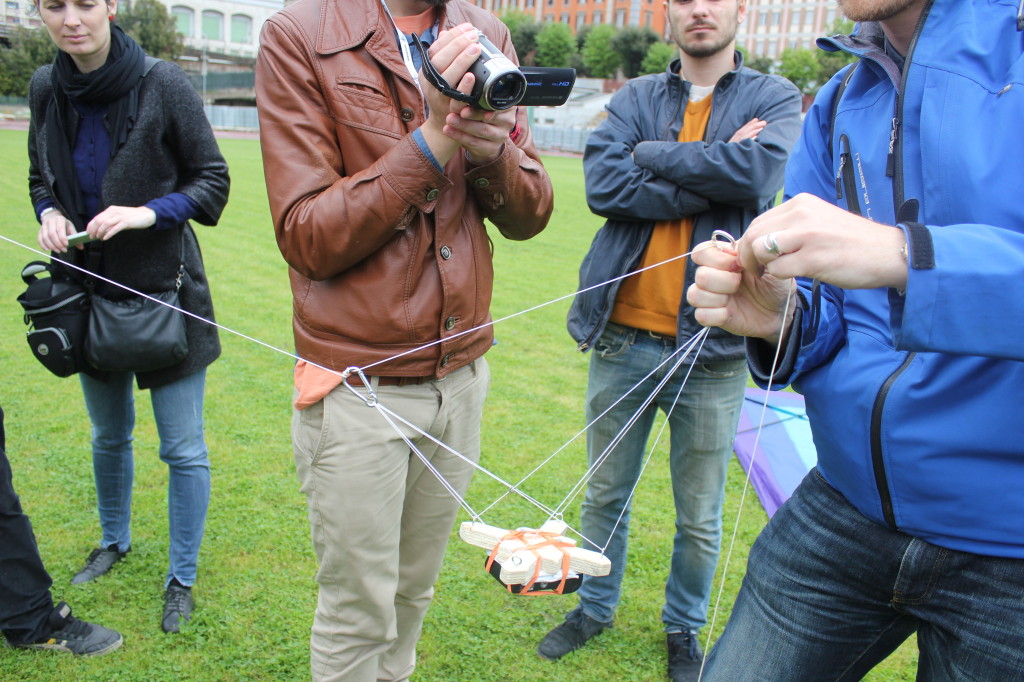
- Camera rig – we used a DYI light wood picavete
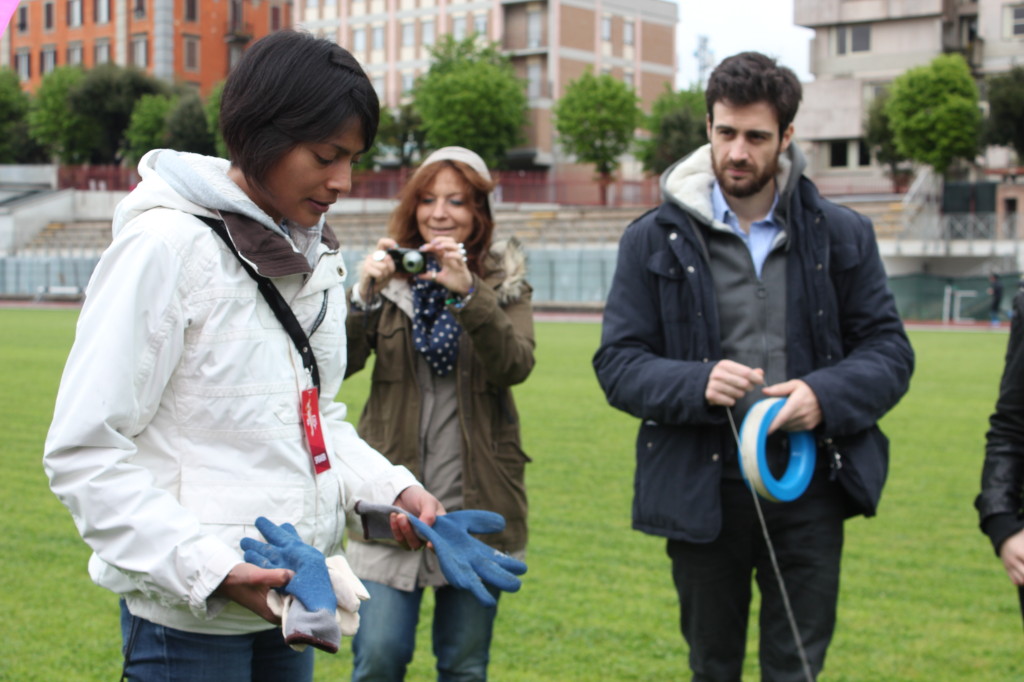
- Gloves
- Map
- Sunglasses
- Check the weather conditions before.
Fly the kite
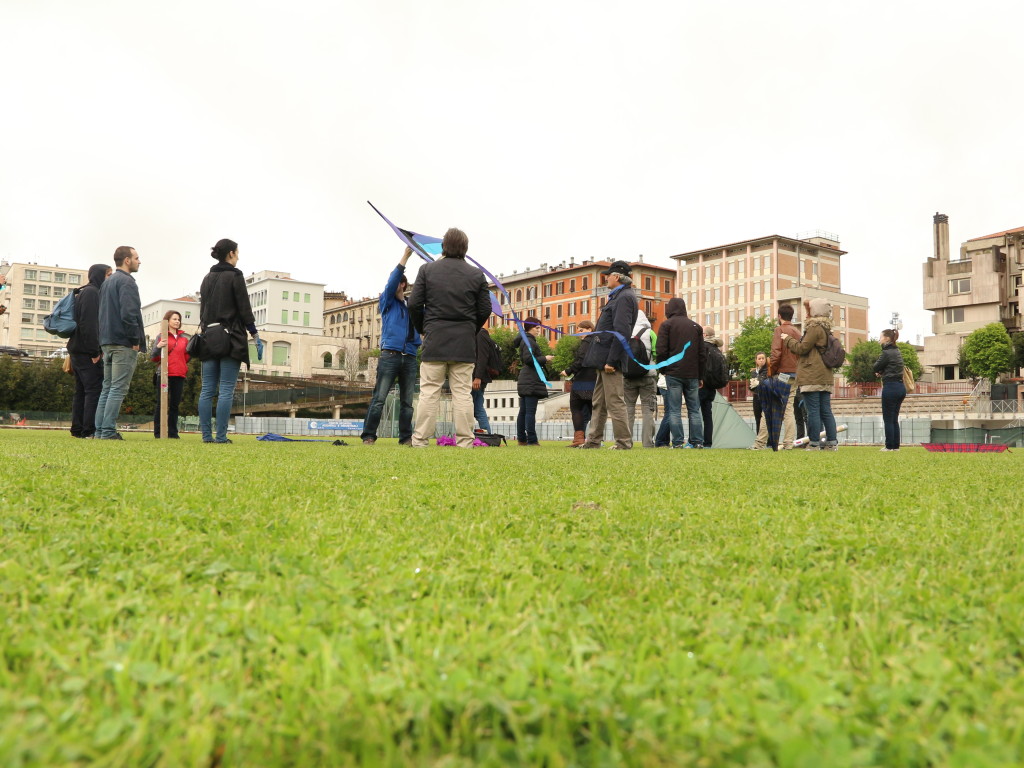
Choose a location with lots of open space. We went on the stadium nearby our main workshop venue.
To launch in good winds, stand with your back to the wind and hold your kite up to catch the wind. Let line out only as fast as the wind lifts the kite. If the wind lulls, pull in line to make your kite gain altitude.
In light or gusty winds, a high-start launch can get your kite up to steadier winds higher up. Have a friend hold your kite 50 meters or more downwind from you with the line stretched tight. When your assistant releases the kite, reel in line to make it climb.
Running is the hardest way to launch a kite. The uncontrolled tugging on the line makes kites dive and crash. Let the wind and your reel do the work instead.
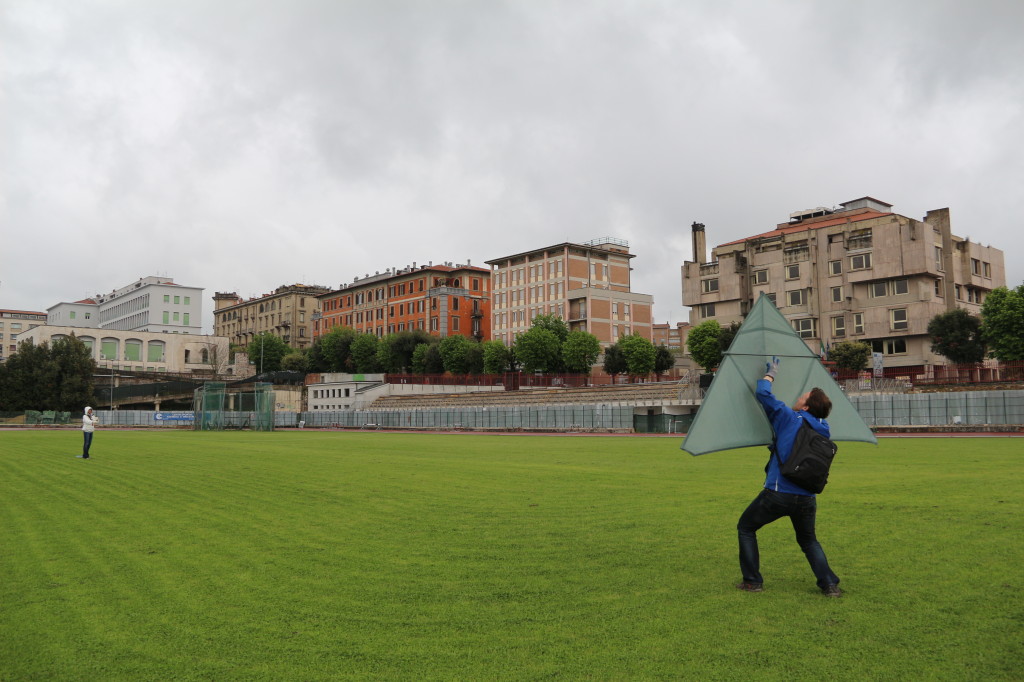
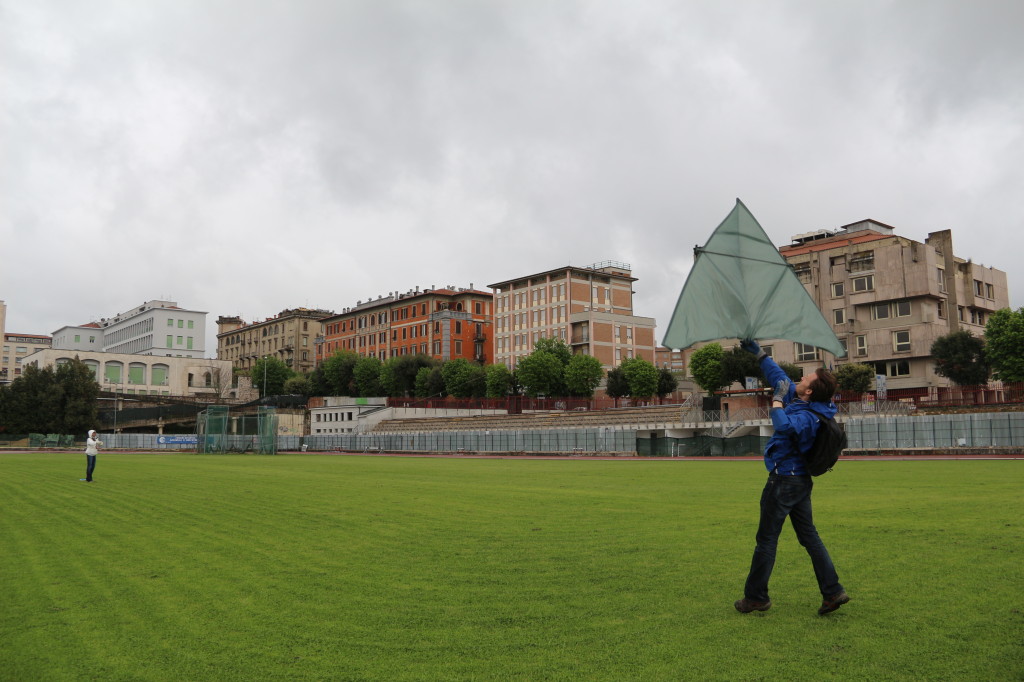
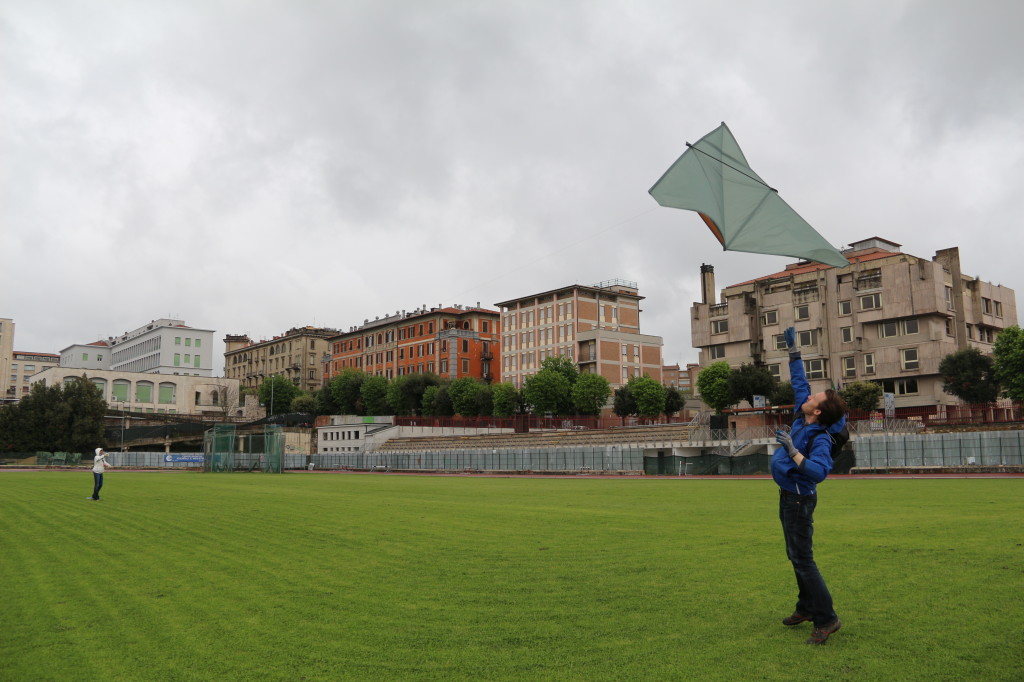
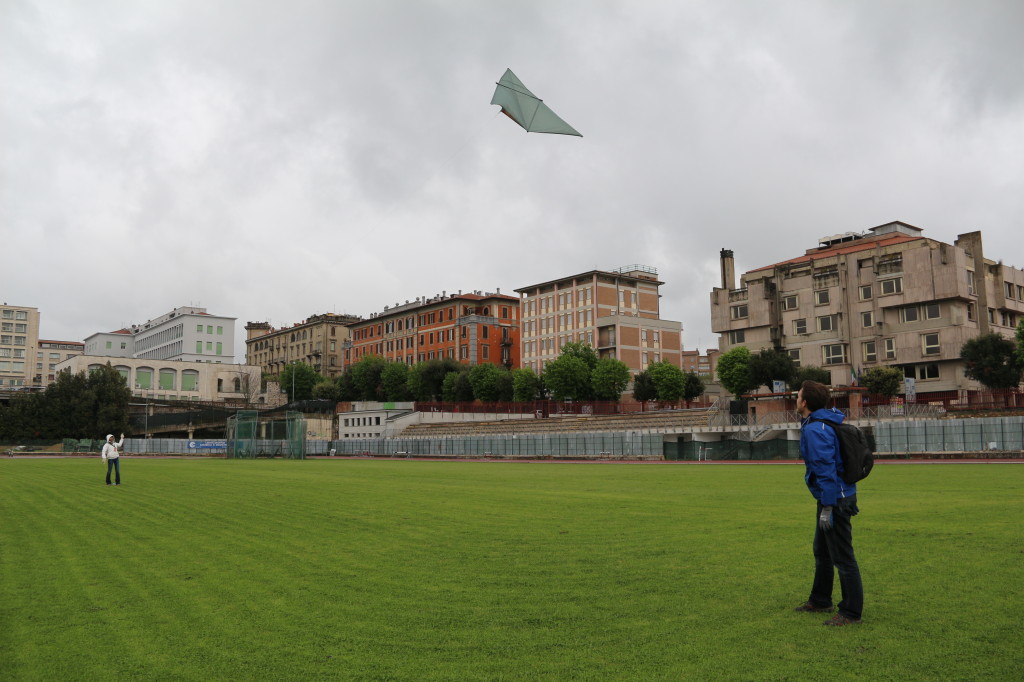
When the wind catches your kite, you’ll feel a small tug. Release a tiny bit of line and slowly move backwards—running actually makes things harder, unless there is no wind case in which you might need to run. As the kite ascends, keep your line taut, so you always remain in control.
Attach the camera
Wait until your kite is up in the air at at least 50-60 meters and attach the camera rig.
We used a home made, light wood picavete and we attached the camera with rubber band. We had to make sure that the camera was pretty stable with 3-4 rounds of band.
Before attaching the camera, you have to make sure it’s on “continuous” mode. This will ensure that your camera will take pictures continuously once it’s up in the air. To keep the shutter speed pressed, block it with another rubber band.
Before pressing the shutter speed button, point the camera to the horizon. This will help the auto-focus function of your camera to adjust to the light conditions. Otherwise, if your camera looks down when you first press the button, your pictures are likely to be underexposed.
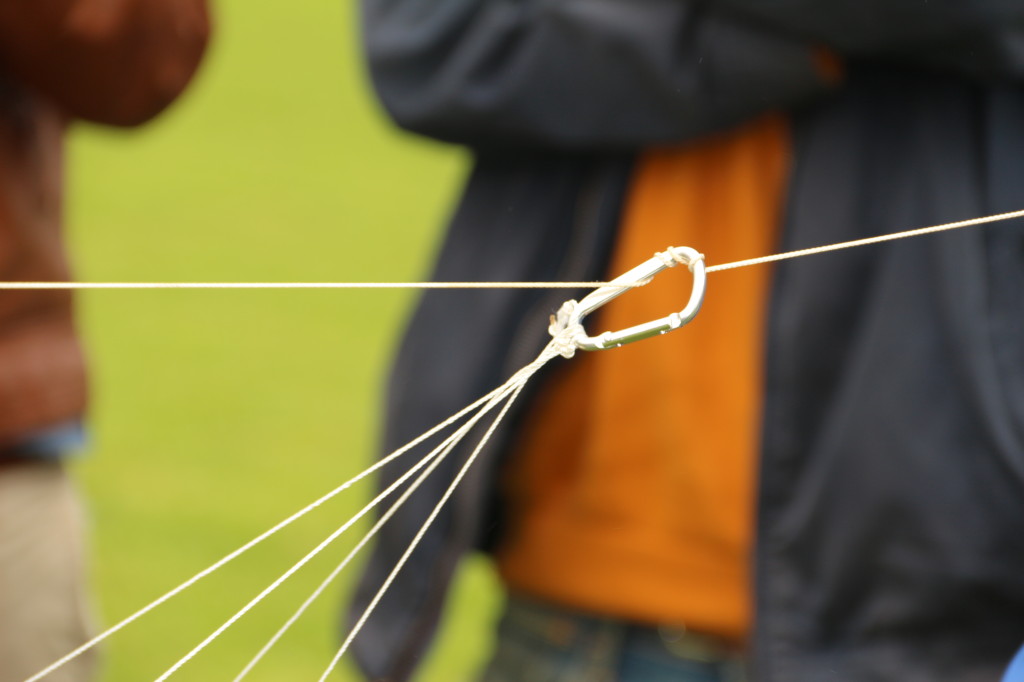
Now that everything is ready, attach the rig to the reel line making 3-4 turn on each hook.
Create your map
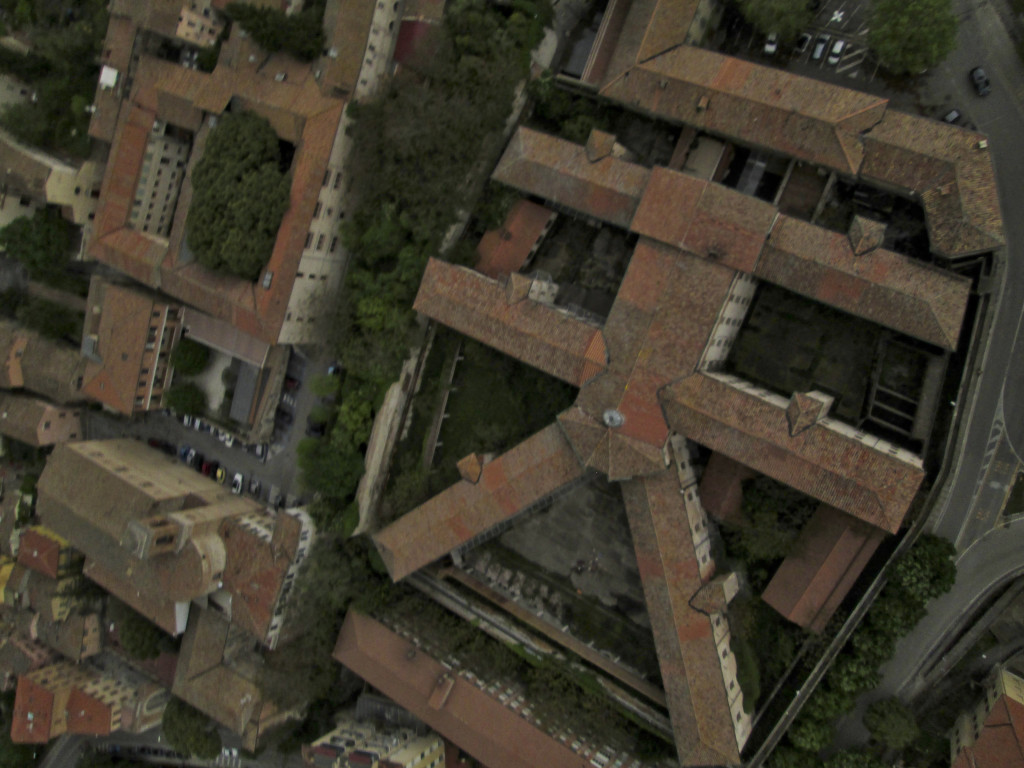
Depending on your camera, battery life time and SD card capacity, you will get something like 800 – 1200 pictures like that. The first thing you want to do is select the best 20-30 pictures that illustrate best the area you want to map.
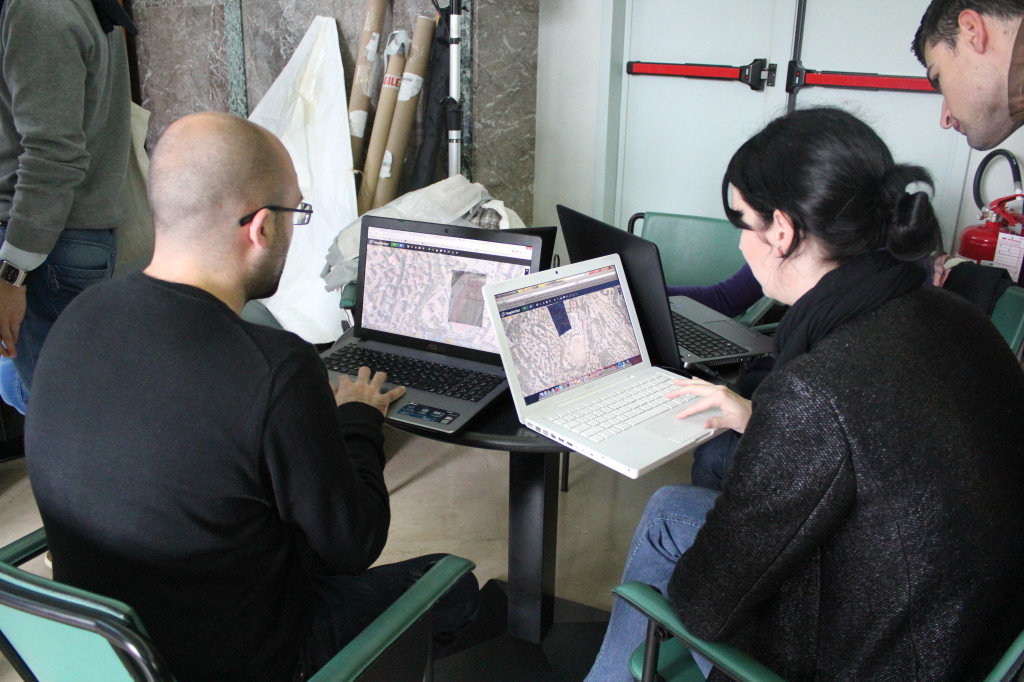
You can use MapKnitter, a softare designed and built for kite and balloon mapping. The interface is simple and the controls intuitive – here is the introduction video:
Belive us, this software it’s easy and intuitive!
Once you’ve pieced everything together, MapKnitter can export the map in five different geographic information system formats—the KML format used by Google Earth, Google Maps Viewer format, OpenLayers, GeoTIFF, and Tile Map Service format—or as a JPG for printing. You can also share the map through the MapKnitter site. So if it’s marked as public domain and it’s better resolution than existing imagery, Google may suck it into Google Maps to replace what it has.
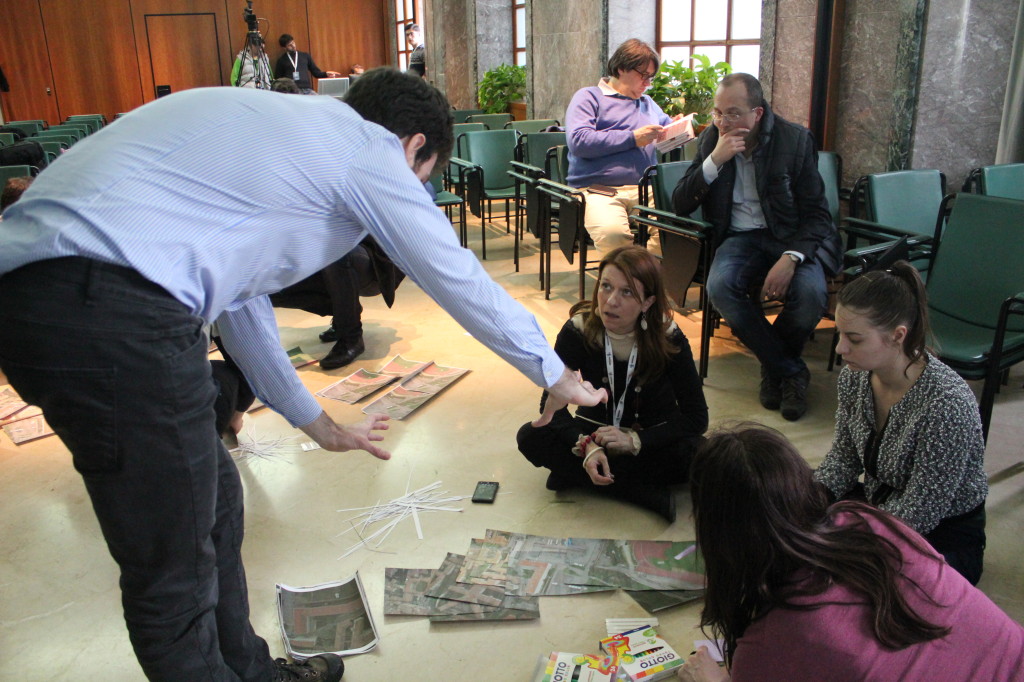
And if technology is not for you, you can go ahead and print the images and work the old fashion way with scissors and glue to stitch together your aerial map.

